How to Measure a House for Christmas Lights: Complete Guide
A complete guide for professional Christmas light installers on how to accurately measure a house for lights, including rooflines, peaks, windows, and landscaping.
Measuring a house for Christmas lights accurately involves using tools like a measuring wheel or laser measure to determine the linear feet of all rooflines, gutters, windows, and other features to be decorated, then adding 10-15% for slack and connections. For professional lighting contractors, precision is not just about getting the right amount of lights; it's the foundation of a successful, profitable, and scalable business. This guide provides a step-by-step process for measuring everything from simple rooflines to complex peaks and landscaping, ensuring your quotes are accurate and your installations are flawless.
Why Accurate Measurements are Crucial for Professionals
In the competitive world of professional Christmas light installation, accuracy is your best friend. It directly impacts your bottom line, client satisfaction, and operational efficiency.
- Client Satisfaction: Accurate quotes build trust. Homeowners appreciate transparency, and there are no awkward conversations about unexpected costs later.
- Profitability: Over-buying materials eats into your profits, while under-buying leads to last-minute scrambles and project delays. Precise measurements ensure you purchase the right amount of lights, clips, and cords every time.
- Efficiency: Knowing the exact measurements allows for streamlined pre-production, such as cutting custom extension cords and preparing light strings. This reduces time on-site and allows your crews to work faster and safer.
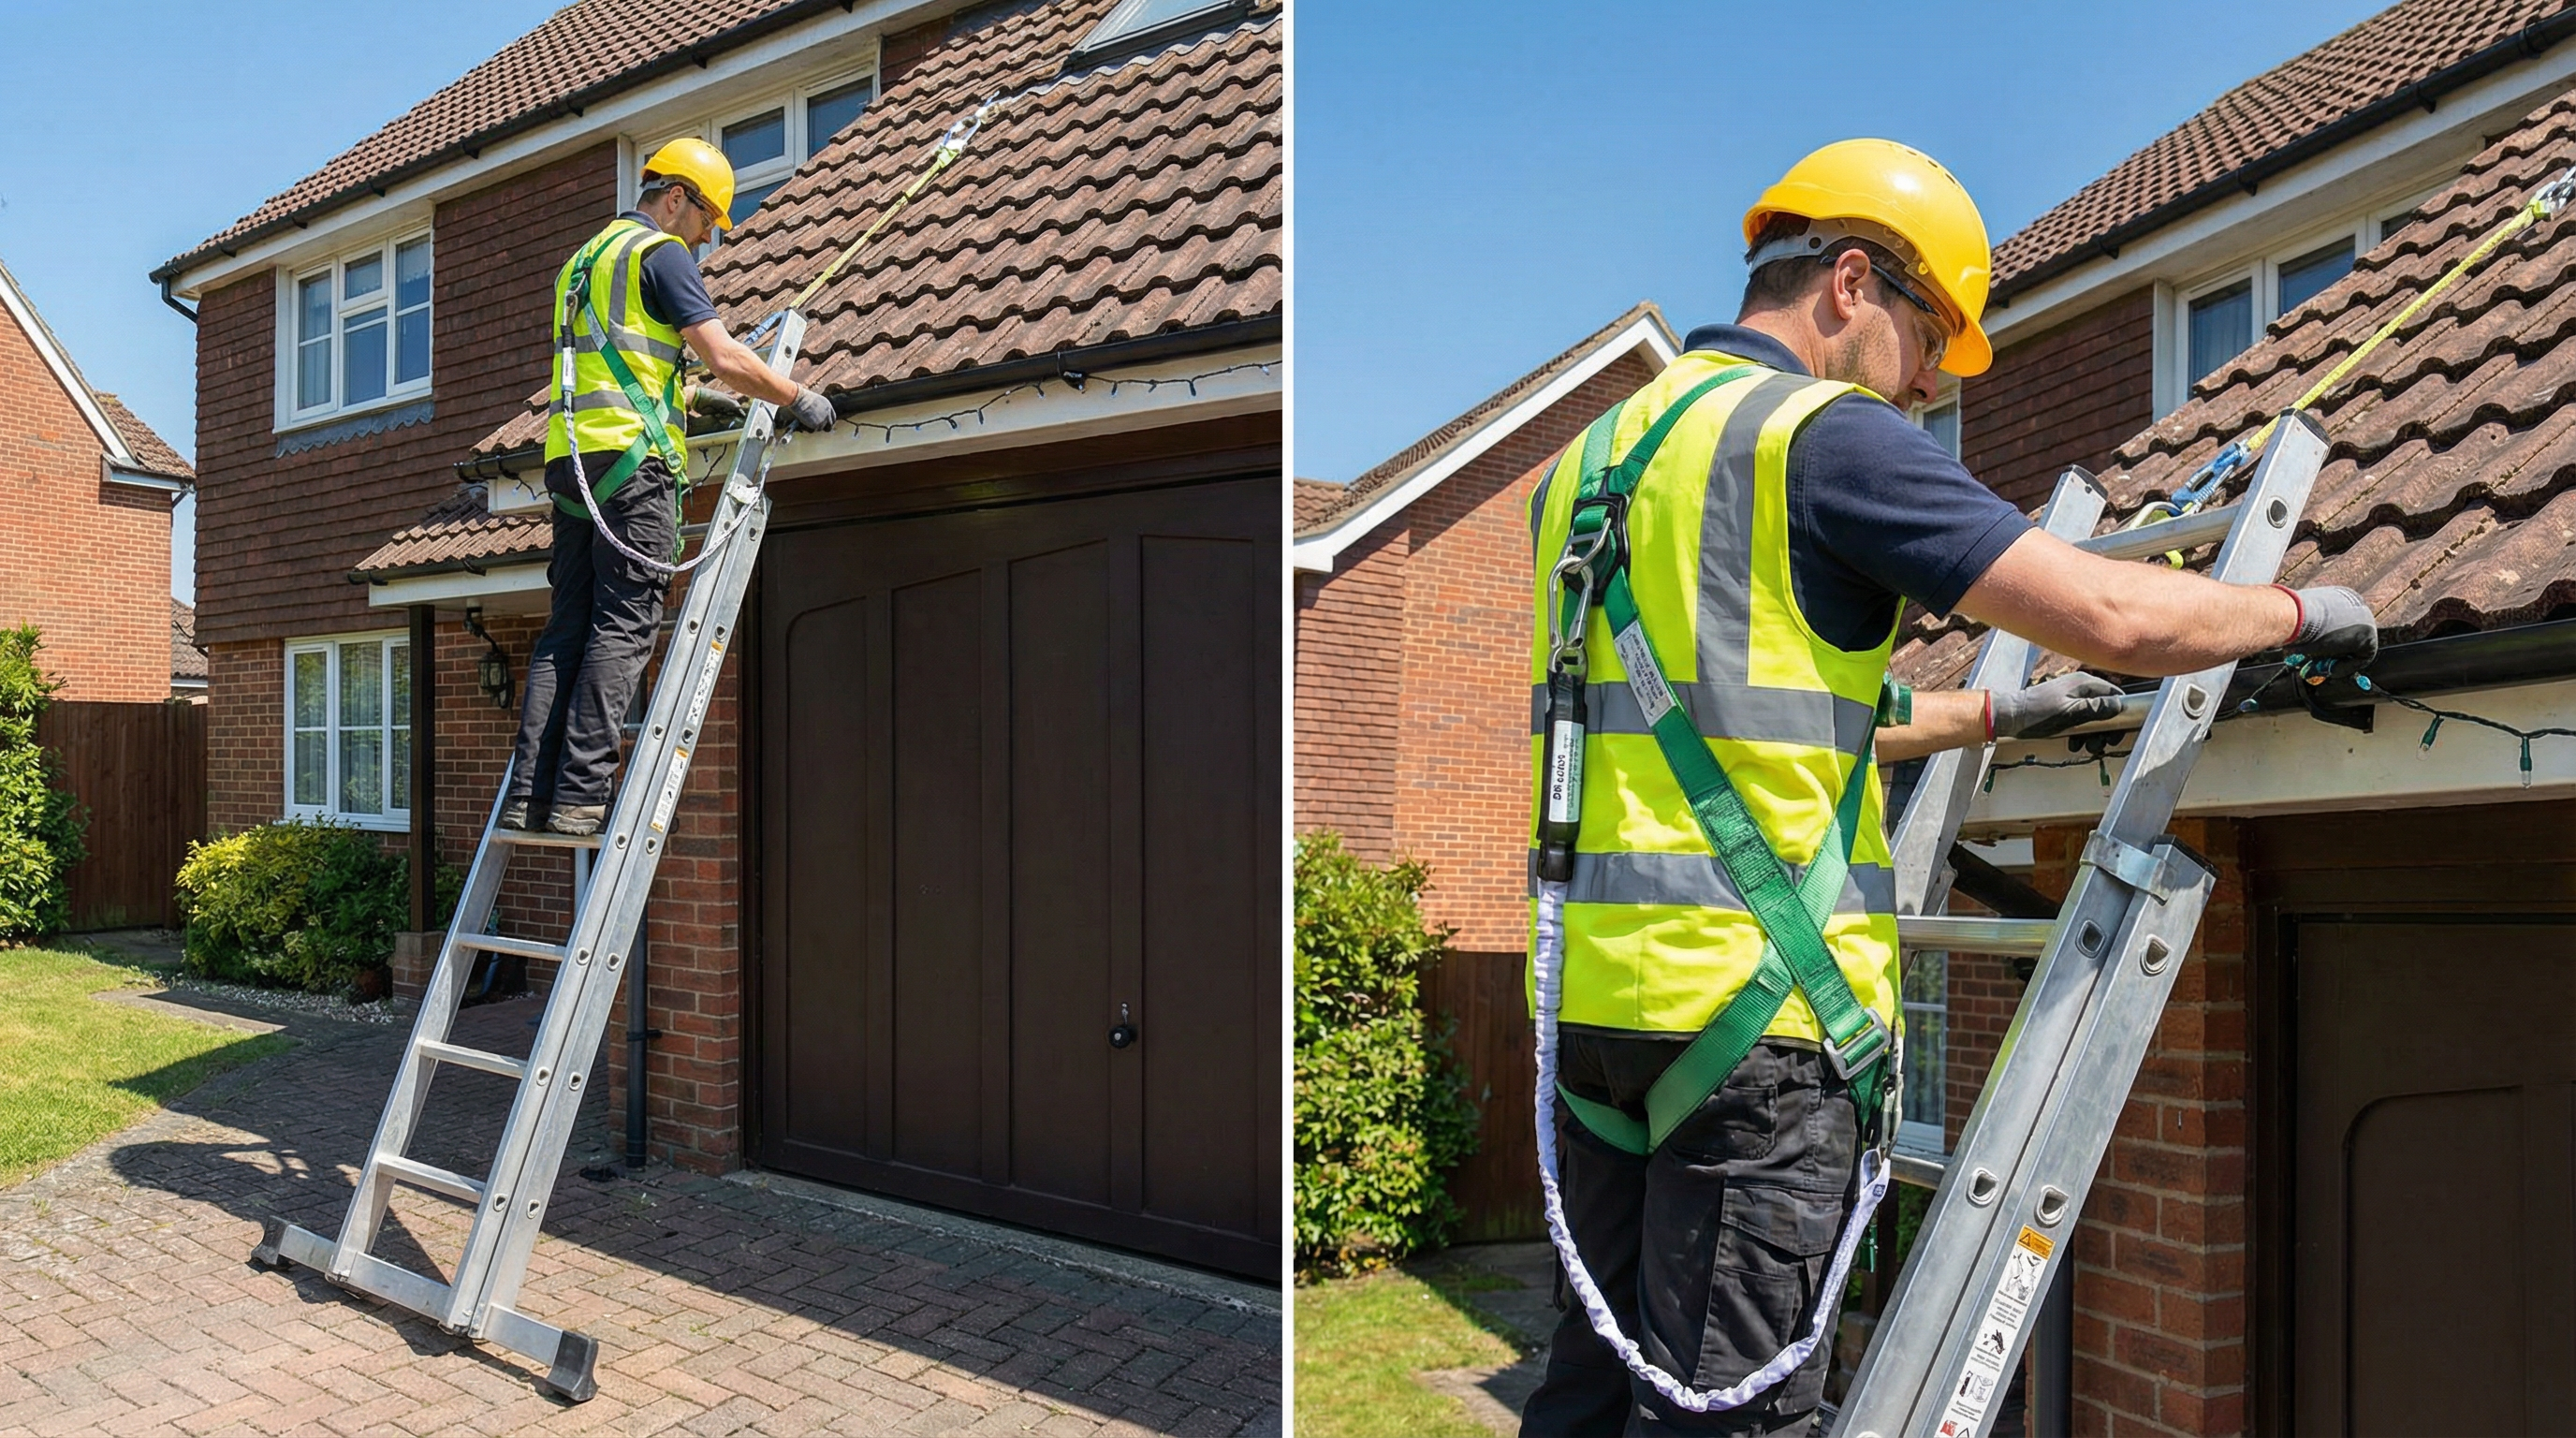
- Safety: The less time your team spends on a ladder trying to figure out if a string will reach, the better. Proper planning minimizes time at heights and reduces the risk of accidents.
Essential Tools for Measuring
Having the right tools is half the battle. While a simple tape measure has its place, professionals rely on more specialized equipment for efficiency and accuracy.
Traditional Tools
| Tool | Best For | Pro Tip |
|---|---|---|
| Measuring Wheel | Long, straight ground-level measurements like driveways, walkways, and the base of hedges. | Get a model with a sturdy, large wheel for better accuracy on uneven terrain. |
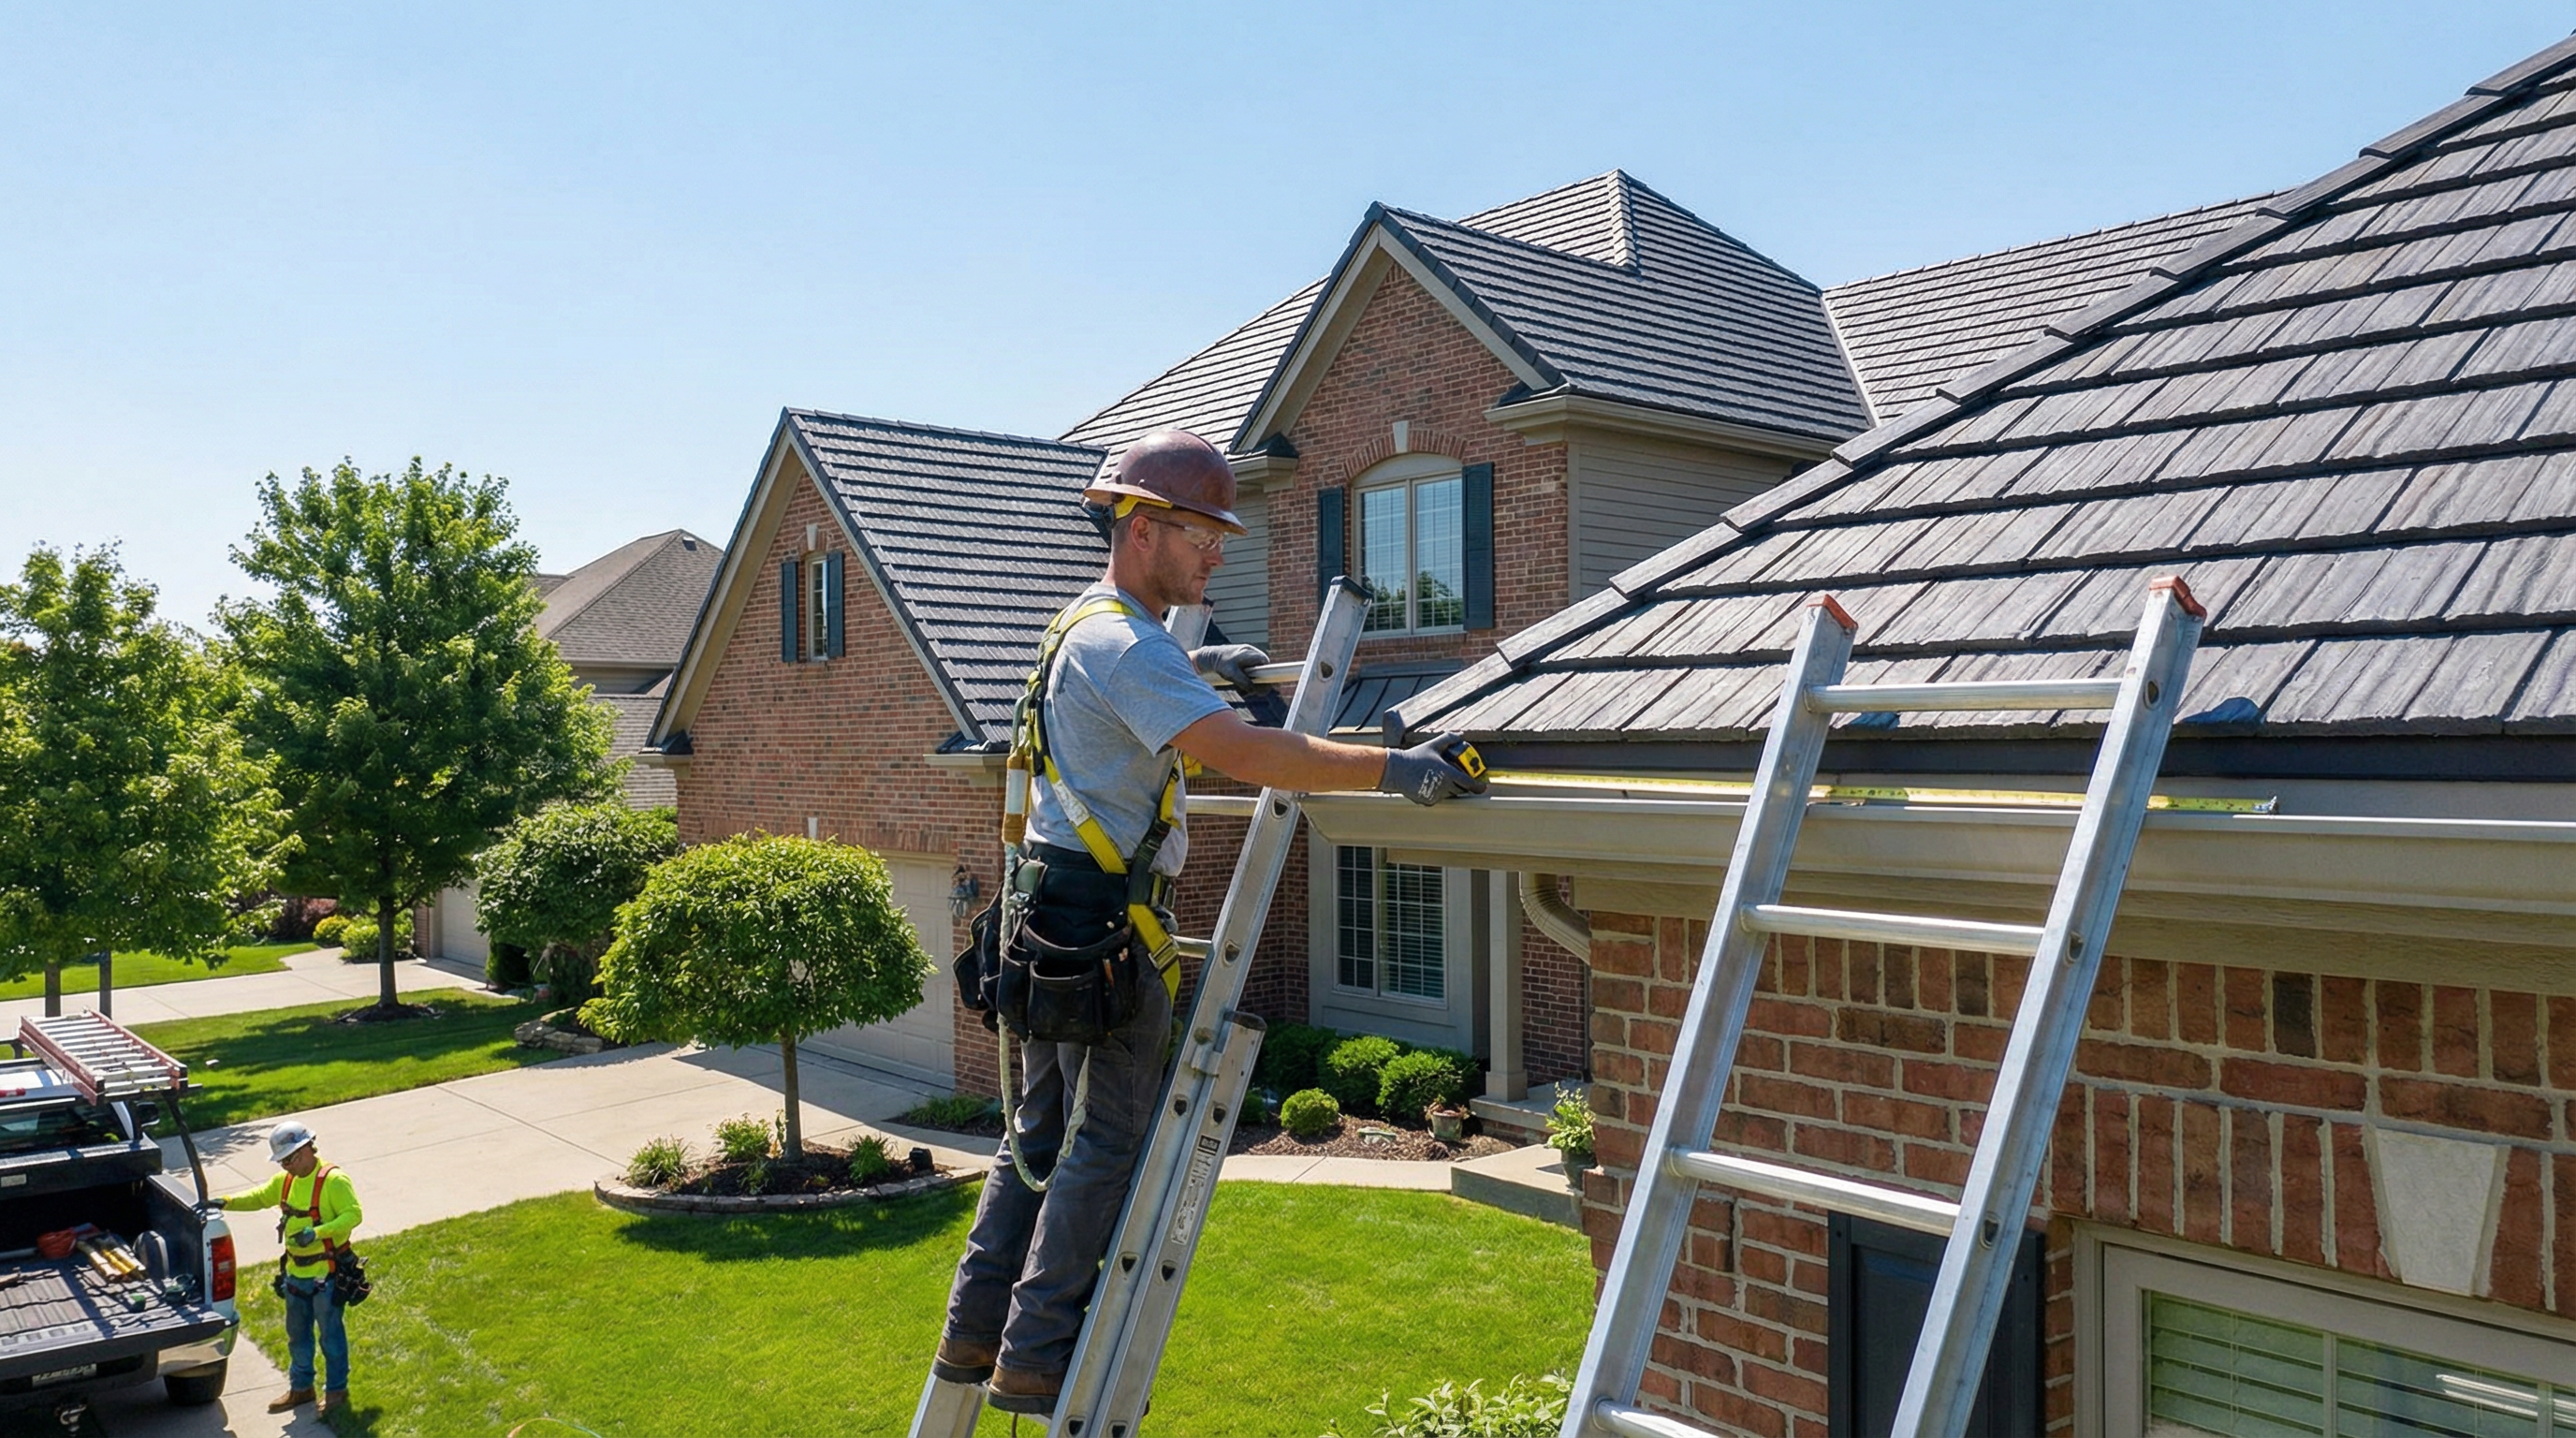
| Laser Measure | Rooflines, peaks, and second-story eaves. It's the go-to tool for most professional installers. | Look for a model with an angle function (inclinometer) to help calculate the length of pitched rooflines. |
| Tape Measure | Windows, doorways, and smaller, detailed areas. | A 25-foot magnetic tape is a great addition to any toolkit. |
Digital Tools & Software
The modern lighting contractor leverages technology to work smarter, not harder. Digital tools allow for remote estimates and professional client presentations.
- Google Maps/Earth Pro: An excellent starting point for preliminary online estimates. You can use the measurement tools to get a rough idea of a property’s dimensions without ever leaving your office.
- Specialized Quoting & Mockup Software: This is where you separate yourself from the amateurs. Platforms like IgnitelyAI allow you to not only get precise measurements from satellite or drone imagery but also to create stunning visual mockups of the final installation. Presenting a client with a photo of their own home decorated with your proposed lighting design is a powerful sales tool that dramatically increases closing rates. You can create a free mockup on our home page.
Step-by-Step Guide to Measuring a House
A. Measuring Horizontal Rooflines (Eaves and Gutters)
These are the most straightforward measurements. Using a laser measure is the fastest and safest method.
- Stand at one corner of the house.
- Aim the laser at the opposite corner of the same straight section.
- Record the measurement.
- Repeat for all horizontal rooflines, including dormers, porches, and different levels of the roof.
B. Measuring Pitched Rooflines (Gables and Peaks)
Pitched rooflines require a bit of math, but it’s simple once you understand the principle. You’ll be using the Pythagorean theorem (a² + b² = c²) to find the length of the sloped side (the hypotenuse).
- Measure the Run (a): This is the horizontal distance from the center of the peak to the edge of the eave. You can often measure this from the ground or by measuring the width of the house and dividing by two.
- Measure the Rise (b): This is the vertical height from the eave to the top of the peak. A laser measure is perfect for this.
- Calculate the Slope (c):
- Square the run (a²).
- Square the rise (b²).
- Add them together (a² + b²).
- Find the square root of the result (√). This is the length of one side of the peak.
- Multiply by two to get the total length for the entire gable.
Example: If the run is 15 feet and the rise is 10 feet:
- 15² = 225
- 10² = 100
- 225 + 100 = 325
- √325 = 18.03 feet. So, you’d need just over 18 feet of lights for that one slope.
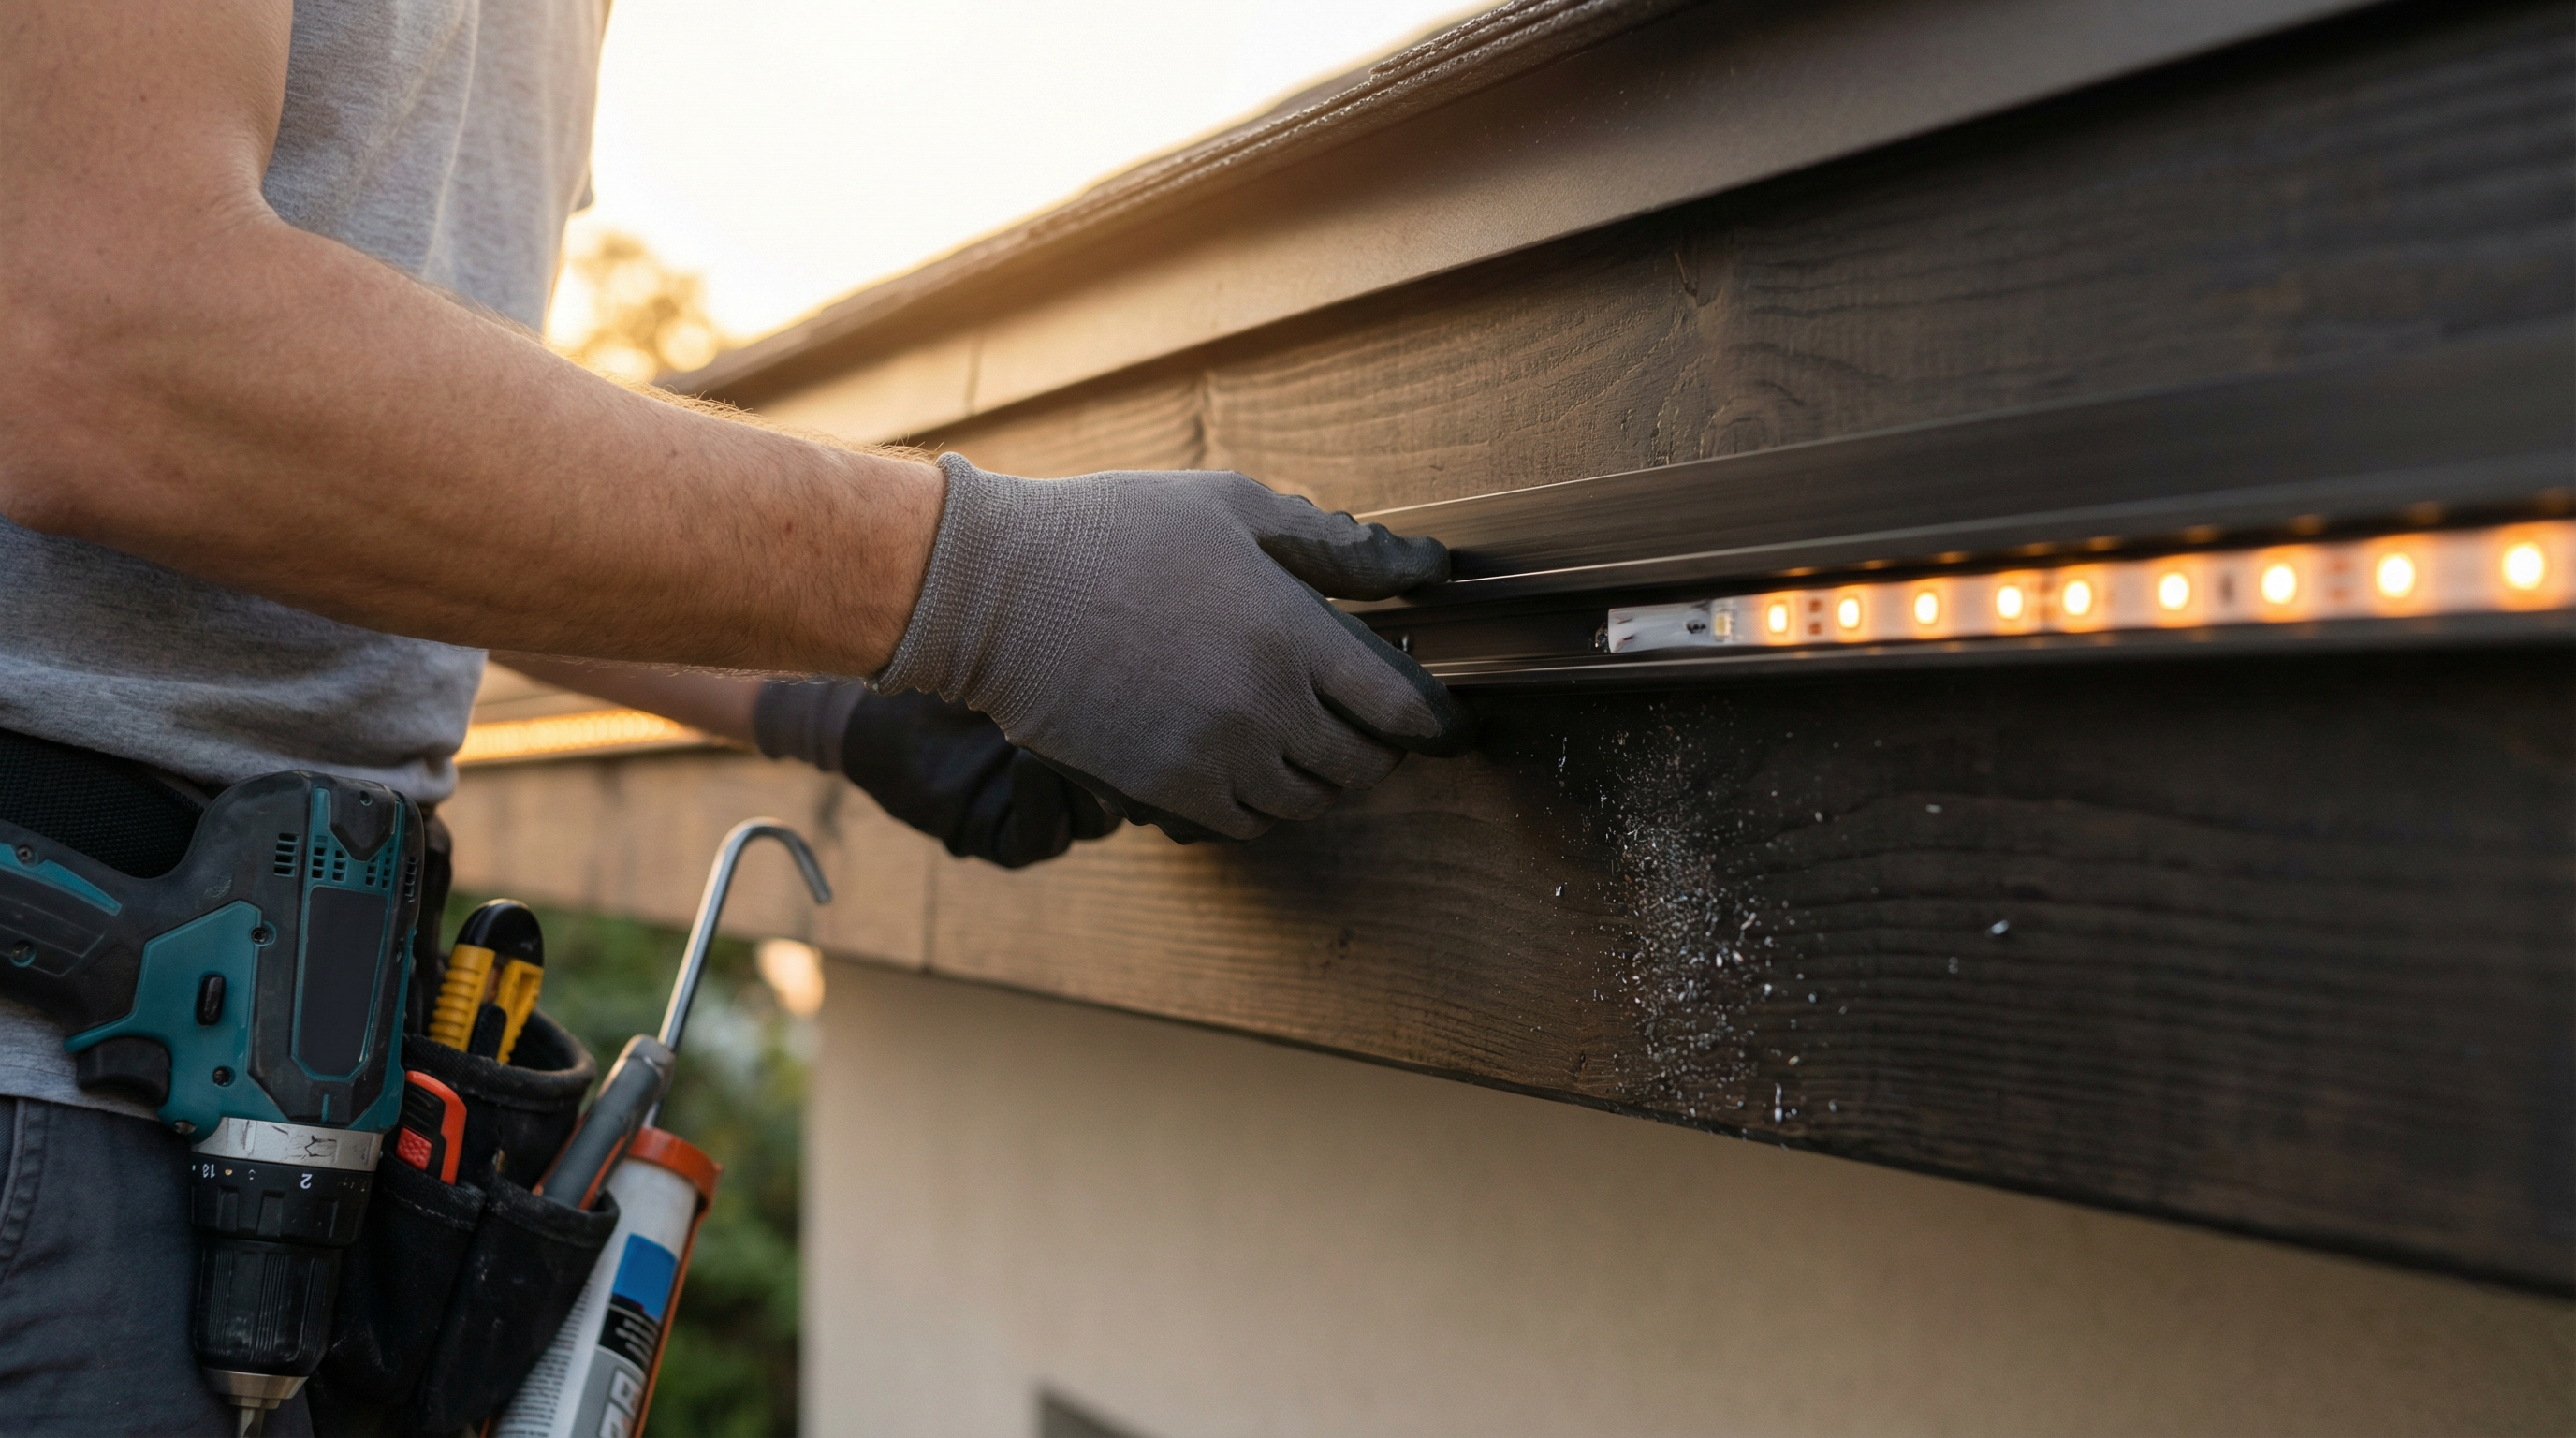
C. Measuring Windows and Doorways
This is a simple process with a tape measure or laser measure. Measure the width and height of each window or door you plan to outline. Don’t forget to account for all four sides if you’re doing a full wrap.
D. Measuring Landscaping Elements
Don’t forget the greenery! Properly lit landscaping adds depth and a professional touch to any design.
- Bushes and Hedges: For wrapping with string lights, measure the circumference and the height. For net lights, measure the length and width of the area you want to cover.
- Trees:
- Trunk Wrapping: Measure the circumference of the trunk and decide on the desired height of the wrap. Multiply the circumference by the number of wraps you plan to do.
- Canopy Wrapping: This is more of an art than a science. A good rule of thumb is to estimate 100-200 feet of lights for every 10 feet of tree height, depending on the desired density. For a more precise method, you can measure a single large branch and multiply by the number of similar-sized branches.
Common Mistakes to Avoid
- Forgetting Slack: Always add 10-15% to your total measurements to account for corners, connections, and routing cords.
- Inaccurate Peak Measurements: Relying on ground measurements for rooflines is a common rookie mistake. Use a laser measure for accuracy.
- Ignoring Power Sources: Always identify the location of outdoor outlets before you finalize your lighting plan. Measure the distance from the outlet to the start of your first light string. This is crucial for determining the length of your extension cords. For more on this, see our guide on powering your Christmas light display.
- Not Documenting Your Measurements: Keep a detailed record of all measurements for each client. This is invaluable for future years, allowing you to provide instant quotes for repeat customers.
Pro Tips for Efficiency
- Develop a System: Create a standardized measurement sheet that you use for every project. This ensures you don’t miss anything.
- Batch Your Measurements: If you have multiple clients in the same neighborhood, schedule a block of time to do all your measurements at once.
- Use a Drone: For large or complex properties, a drone can be a game-changer. You can capture high-resolution images and use them with software to get precise measurements.
Putting It All Together: From Measurement to Quote
Once you have your measurements, you can create a detailed and professional quote. Here’s a simplified example of what you might include:
| Item | Measurement (Linear Feet) | Quantity | Notes |
|---|---|---|---|
| Front Gutters | 120 | 120 ft of C9 bulbs | 6-inch spacing |
| Main Peak | 36 | 36 ft of C9 bulbs | |
| Garage Door | 40 | 40 ft of C7 bulbs | |
| (2) Large Bushes | 100 (50 each) | 2 sets of 50-foot string lights | |
| (4) Windows | 80 (20 each) | 80 ft of C7 bulbs |
This level of detail not only helps you calculate your costs accurately but also shows the client that you are a true professional who has done their homework.
By mastering the art and science of measuring, you set your business up for success. Accurate measurements lead to happy clients, healthy profits, and a reputation for professionalism that will make you the go-to lighting contractor in your area. For more tips on growing your business, check out our article on marketing your Christmas light business.
Frequently Asked Questions
How do you measure a roofline with a laser measure?
Stand at one corner of the roofline section you want to measure. Aim the laser at the opposite corner and record the distance. For peaks, you'll need to use the Pythagorean theorem by measuring the run and rise.
What's the best way to measure for lights on a two-story house?
A laser measure is the safest and most accurate tool for measuring second-story rooflines. It allows you to get precise measurements from the ground without needing a ladder for the initial estimate.
How much extra wire should I account for?
A good rule of thumb is to add 10-15% to your total linear footage. This provides enough slack for making connections, running wires around corners, and reaching power sources.
Can I use Google Maps to measure for Christmas lights?
Yes, Google Maps and Google Earth Pro are excellent for creating preliminary estimates. They provide a good sense of the property's scale, but you should always confirm with on-site measurements before providing a final quote.
What is the most common mistake when measuring for Christmas lights?
The most common mistake is forgetting to measure all the different angles and peaks of a roofline, leading to an inaccurate estimate of the total length of lights needed. Another common error is failing to account for the distance to power sources.
How does specialized software like IgnitelyAI help with measurements?
Software like IgnitelyAI uses high-resolution aerial or satellite imagery to provide highly accurate measurements. More importantly, it allows you to create a visual mockup of the lighting design on a photo of the client's actual home, which is a powerful sales tool.
How do I measure for lights on large trees?
For wrapping trunks, measure the circumference and multiply by the desired number of wraps. For canopies, it's often an estimation. A good starting point is to plan for 100-200 feet of lights for every 10 vertical feet of the tree, adjusting for the density of the branches.
Ready to Transform Your Lighting Business?
Join thousands of lighting contractors using IgnitelyAI to create stunning mockups, close more deals, and grow their business.
Start Your Free Trial