Photo-Based Lighting Mockups: How to Create Client Proposals in Minutes
Learn how to create stunning, photo-realistic lighting mockups in minutes. This guide covers the entire workflow from photo capture to client presentation, helping you close more deals.
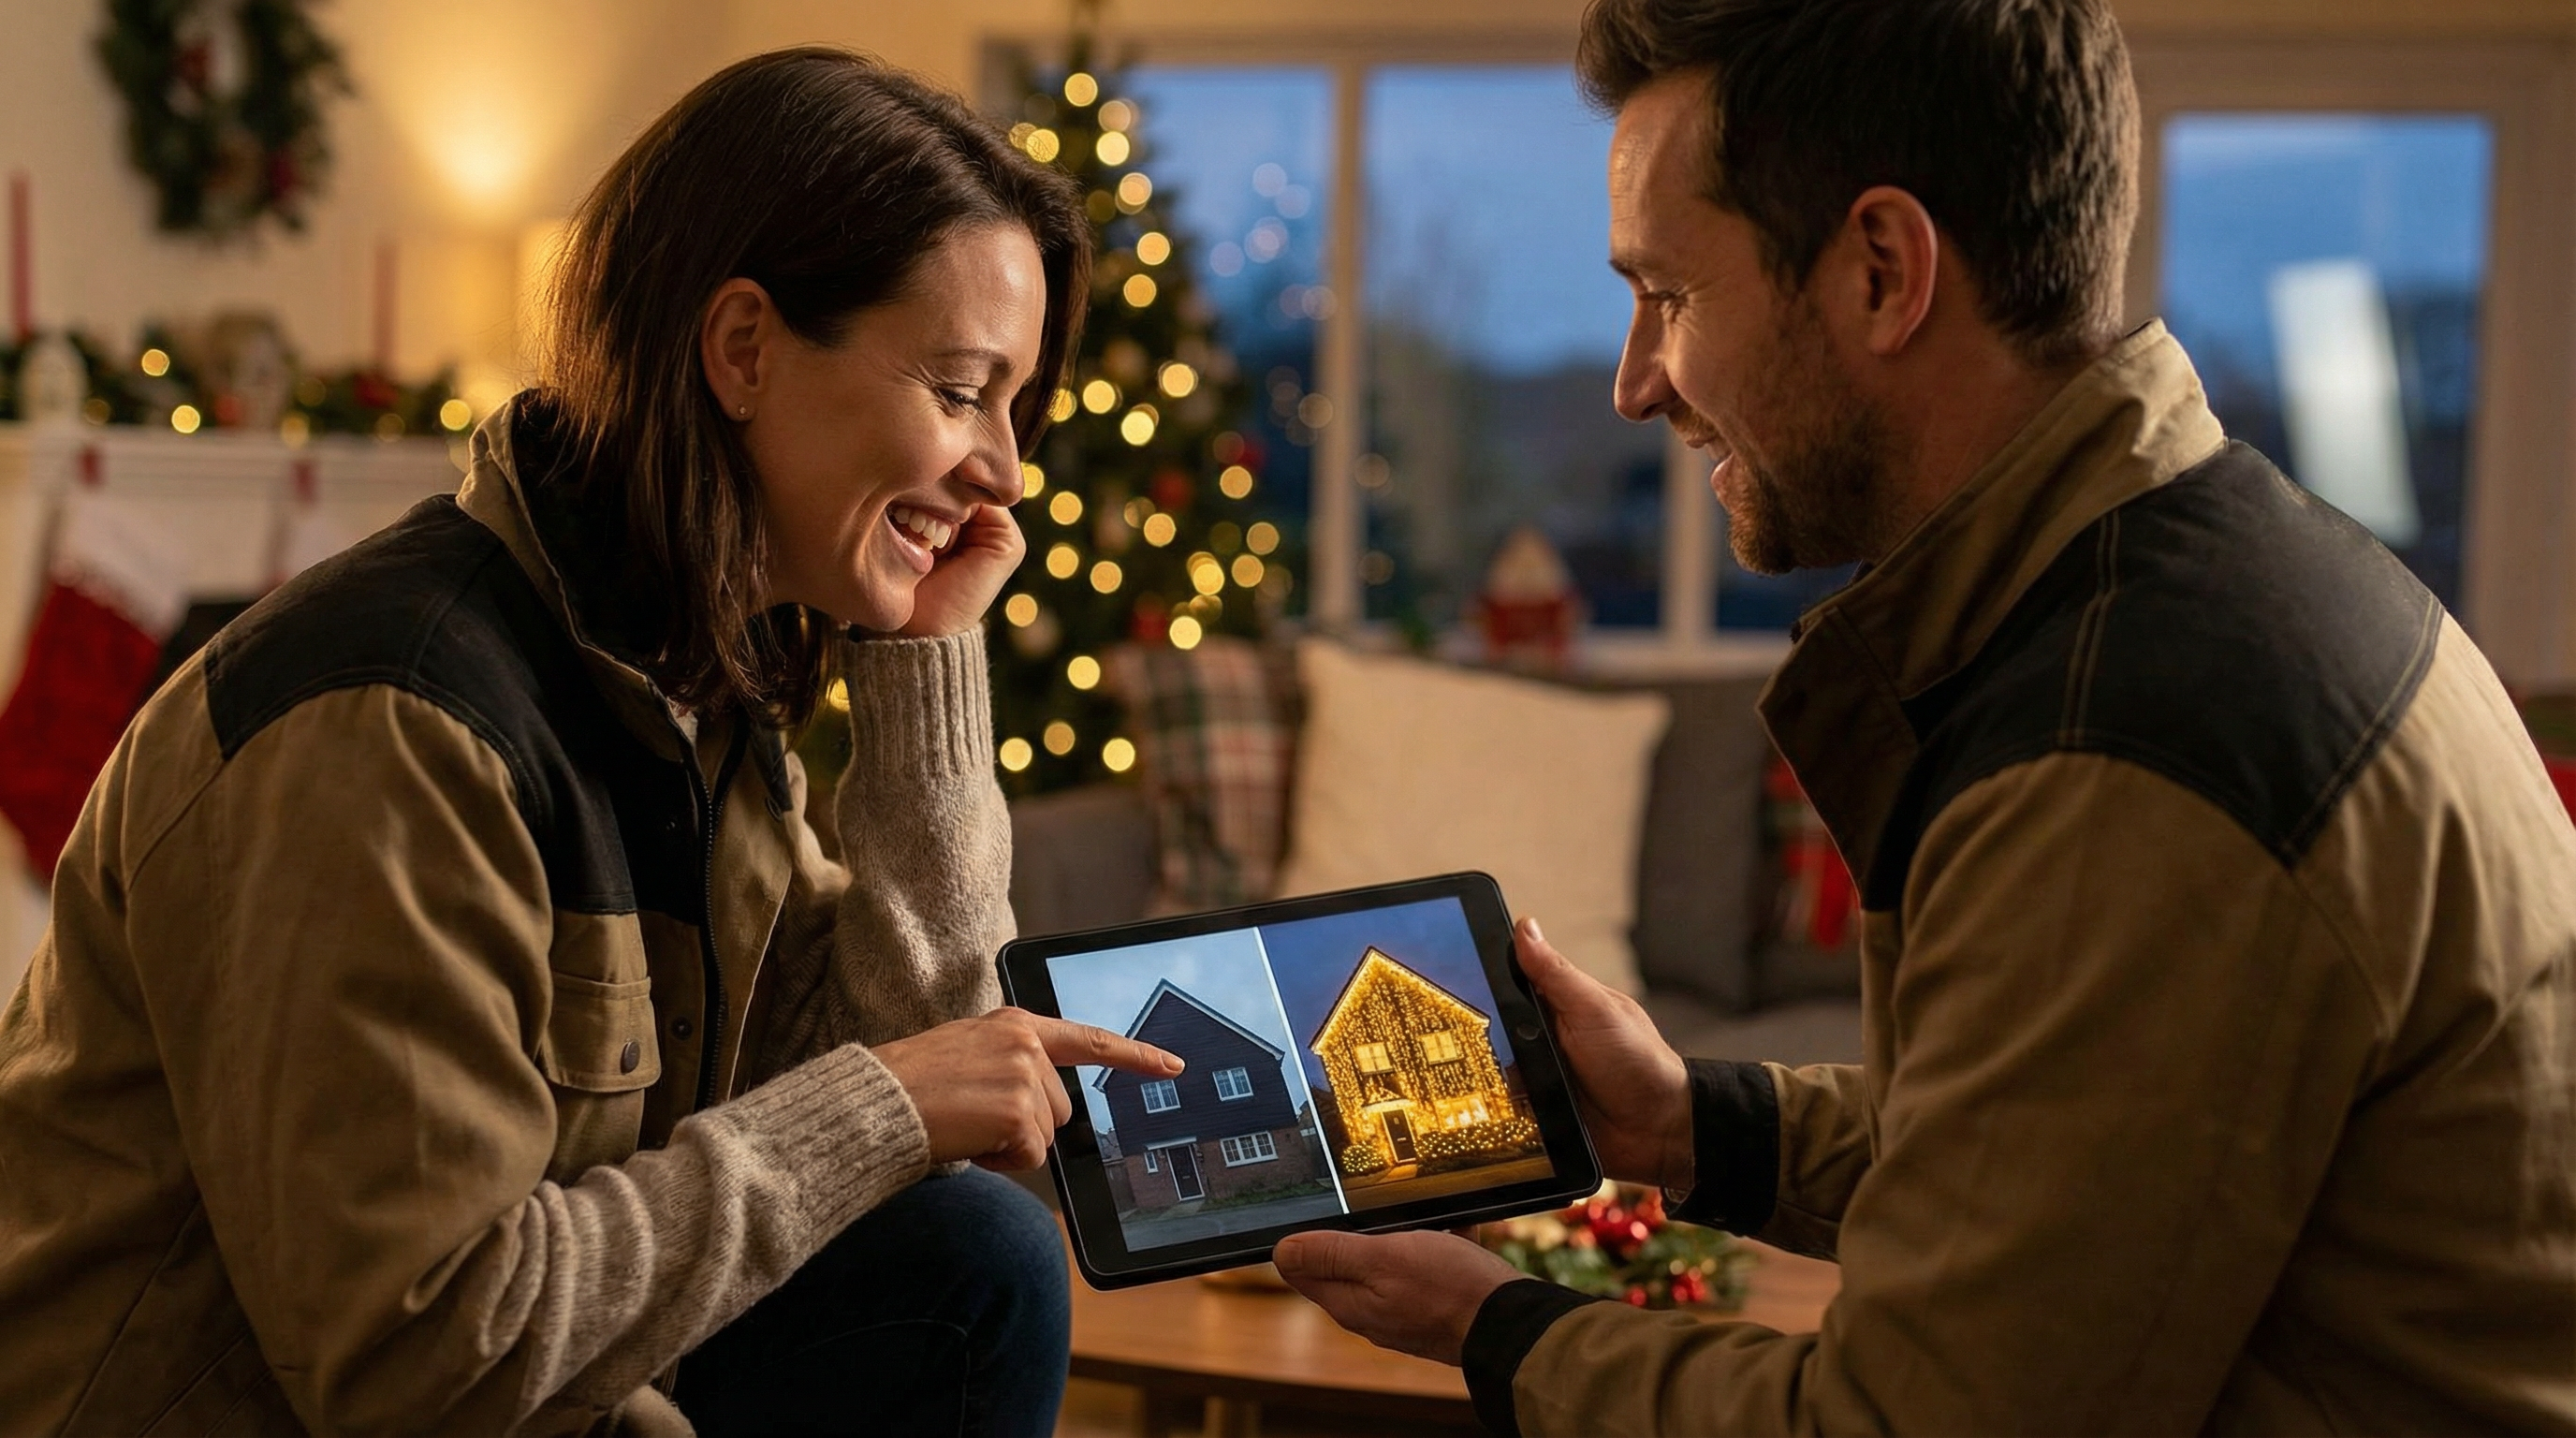
Creating a compelling client proposal for a lighting project can be done in minutes by using a high-quality photo of the client's property and a photo-based lighting mockup tool to generate a realistic visualization of the final installation. This approach allows lighting contractors to quickly show clients exactly what they will get, leading to faster approvals and higher closing rates.
In today's competitive market, professional lighting contractors need every advantage they can get. Gone are the days of vague descriptions and hand-drawn sketches on a napkin. Clients now expect to see a realistic preview of their investment before they sign on the dotted line. This is where photo-based lighting mockups become an indispensable tool in your sales arsenal. They bridge the gap between imagination and reality, providing a tangible vision that sells.
What are Photo-Based Lighting Mockups?
Photo-based lighting mockups are visual representations of a proposed lighting design superimposed onto an actual photograph of a client's property. Unlike generic templates or architectural renderings created from scratch, these mockups use a real-world image as the canvas. This technique provides the most accurate and compelling preview of how the finished lighting installation will look, from the exact placement of C9 bulbs on a roofline to the subtle glow of permanent accent lighting on architectural features.
This method is far superior to older techniques because it removes all guesswork. The client isn’t just seeing a similar house; they are seeing their house, transformed by your professional lighting design. This level of personalization builds immediate trust and excitement.
Why Your Business Needs Photo-Based Mockups
Integrating photo-based mockups into your sales process isn't just about creating pretty pictures; it's a strategic move that directly impacts your bottom line. For a relatively small investment in time or software, the returns are significant.
- Dramatically Increased Closing Rates: We've seen contractors boost their closing rates by as much as 40% after implementing realistic mockups. When a client can clearly visualize the stunning end result, their desire to purchase skyrockets. The emotional impact of seeing their home beautifully illuminated is a powerful sales driver.
- Crystal-Clear Client Communication: Ambiguity is the enemy of a successful project. Mockups eliminate misunderstandings about bulb placement, color, and overall design. What you propose is exactly what the client sees, ensuring everyone is on the same page from the start and reducing the risk of post-installation disputes.
- Lightning-Fast Proposal Generation: The old way of creating proposals was time-consuming. Measuring properties, sketching designs, and writing lengthy descriptions could take hours. With modern tools, you can generate a stunning, accurate mockup and a complete proposal in a matter of minutes, allowing you to respond to leads faster than your competition.
- Elevated Professional Branding: Presenting a potential client with a custom, high-quality mockup instantly positions your company as a professional, tech-savvy industry leader. It shows you are invested in their project and have the tools to deliver a superior result. It’s a world away from a competitor who simply provides a text-based quote.
The Step-by-Step Guide to Creating Photo-Based Lighting Mockups
Creating a professional lighting mockup is easier and faster than ever. While the process can be done with traditional tools like Adobe Photoshop, new AI-powered platforms have streamlined the workflow from hours to minutes. Here’s a comprehensive guide.
Step 1: Capturing the Perfect Photo
The quality of your mockup is directly dependent on the quality of the source photo. A bad photo will result in a bad mockup. Here are some tips for getting it right:
- Angle is Everything: Take the photo from a straight-on, level perspective. Avoid weird angles or standing too close to the building, which can cause distortion. The goal is to capture the property as one would normally view it from the street.
- Daylight is Your Best Friend: Always take photos during the day. Good, even lighting ensures that all architectural details are clear and visible. Overcast days are often ideal as they reduce harsh shadows.
- Resolution Matters: Use a modern smartphone or a DSLR camera to capture a high-resolution image. The more detail you have in the original photo, the more realistic your final mockup will be.
- Get the Whole Picture: Make sure the entire structure you plan to light is in the frame, with a little bit of buffer space around it.
Step 2: Choosing Your Mockup Tool
You have a few options when it comes to creating the mockup itself. Each has its pros and cons:
| Tool Type | Pros | Cons | Best For |
|---|---|---|---|
| Adobe Photoshop | Ultimate control, highly realistic results | Steep learning curve, very time-consuming | Experienced designers with ample time. |
| General AI Image Generators (Midjourney, DALL-E) | Fast, can create conceptual designs | Can alter the original photo, lacks precision | Quick conceptual ideas, not for precise client proposals. |
| Specialized Lighting Mockup Software | Extremely fast, designed for lighting pros, accurate | Typically requires a subscription | Contractors who want to create accurate, professional proposals in minutes. |
While Photoshop offers unparalleled control, the time investment is significant. For most contractors, a dedicated tool is the way to go. Platforms like IgnitelyAI are built specifically for the lighting industry, allowing you to generate stunning mockups from a photo in under a minute. It combines the speed of AI with the precision needed for professional proposals.
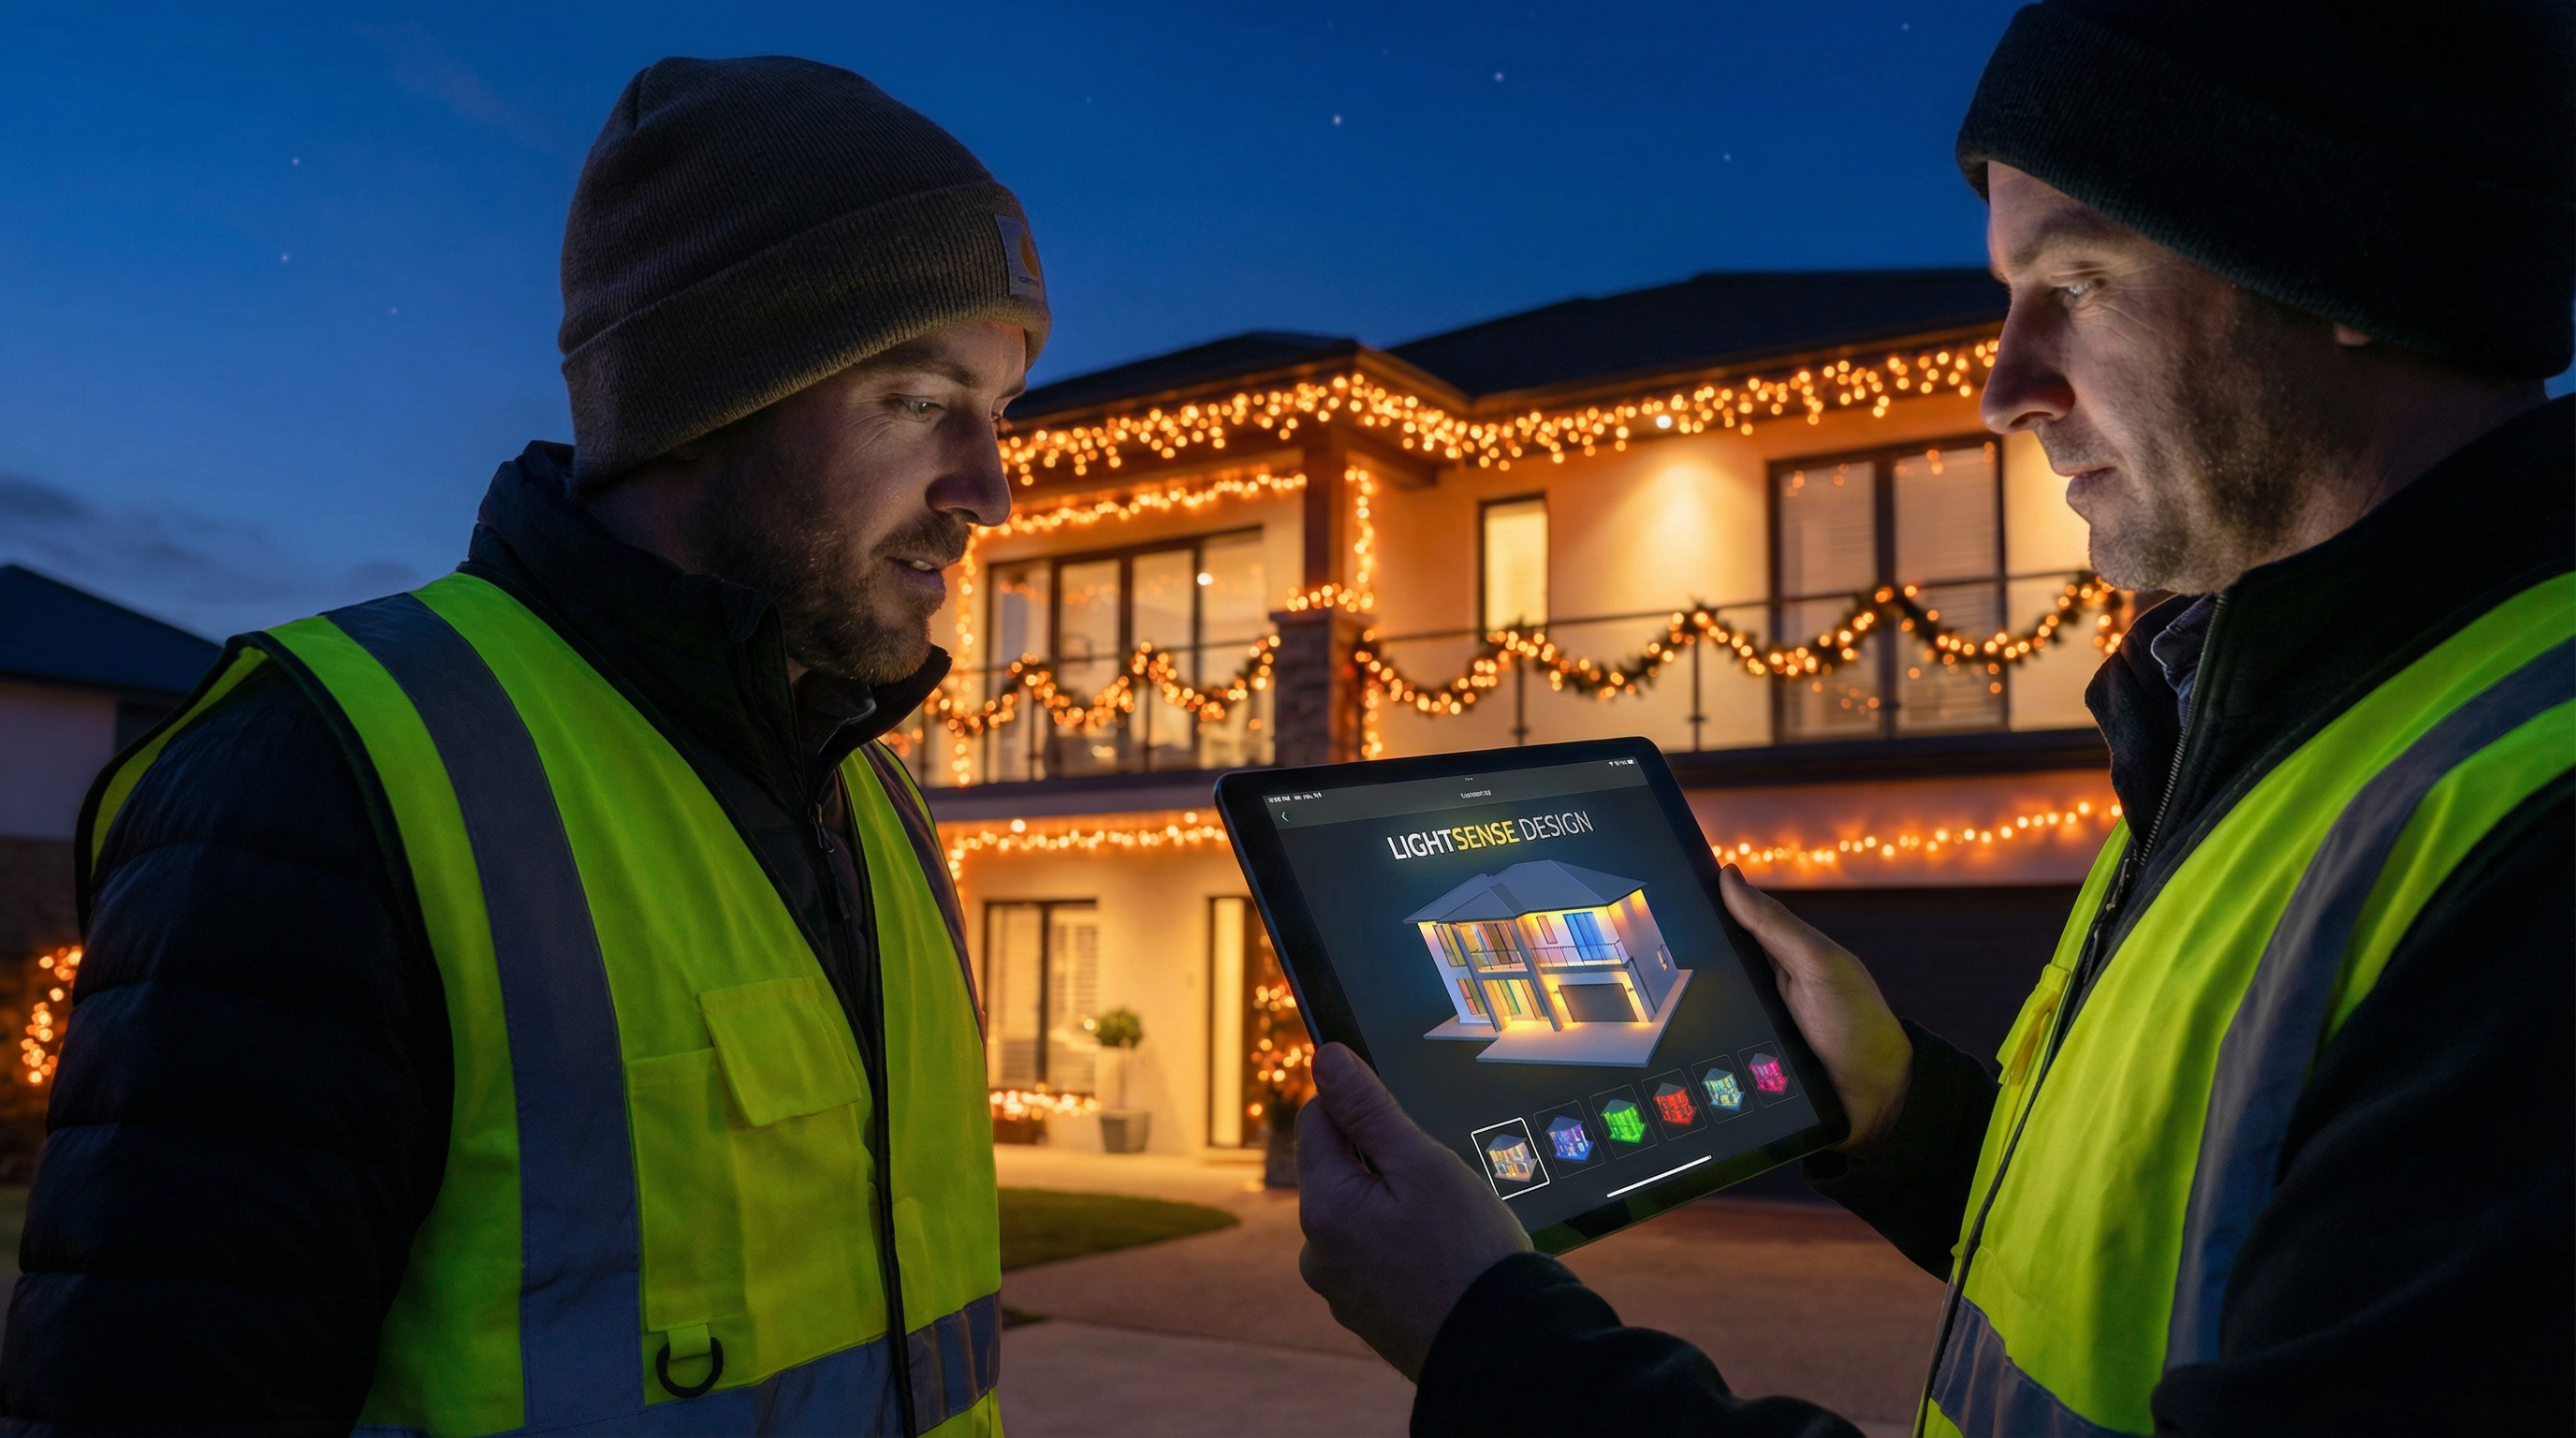
Step 3: The Mockup Process (Using a Specialized AI Tool)
Let's walk through the workflow using an AI-powered tool like IgnitelyAI, which is the most efficient method.
- Upload the Photo: Start by uploading the high-resolution photo of your client's property to the platform.
- Define the Lighting Design with a Prompt: This is where you instruct the AI. Be specific. Instead of "add Christmas lights," write a detailed prompt like: "Add warm white C9 LED Christmas lights to all the front-facing rooflines and the dormers. The bulbs should be 12 inches apart." For permanent lighting, you might say: "Add 3000K permanent accent lights under the eaves, spaced 9 inches apart, creating a wall-washing effect."
- Generate the Initial Design: The AI will process your request and generate a mockup in seconds. It will superimpose the lights onto the original photo without altering the underlying architecture, ensuring a realistic result.
- Refine and Iterate: The first draft is often very close, but you can easily make adjustments. You can ask the AI to "make the lights a bit brighter," "change the color to red and green," or "add lights to the garage roofline as well." This iterative process allows you to quickly explore different options and even create multiple versions for the client.
Step 4: From Mockup to Proposal
Your mockup is the star of the show, but it needs to be part of a complete, professional proposal. Your proposal should include:
- The high-quality mockup(s).
- A clear description of the proposed work.
- An itemized list of materials and labor.
- The total project cost.
- Your company’s contact information and logo.
Tools like IgnitelyAI often integrate proposal generation, automatically packaging your mockup with a quote and business details into a polished, client-ready document.
Step 5: Presenting to the Client
How you present the mockup is crucial. Instead of just emailing it, consider a brief virtual or in-person meeting to walk the client through the design. Explain the choices you made and highlight the benefits of your proposed plan. This personal touch, combined with a stunning visual, is a powerful combination that closes deals.
Best Practices for High-Converting Mockups
- Offer Options: Provide two or three different design variations. This could be a "good, better, best" scenario or simply different color schemes. This shifts the client's thinking from "if" to "which."
- Showcase Year-Round Value: For permanent lighting clients, create mockups showing different holiday scenes (Christmas, Halloween, 4th of July) as well as elegant architectural lighting for the rest of the year. This demonstrates the versatility and value of their investment. Learn more about growing your permanent lighting business.
- Pay Attention to Detail: Ensure your mockups accurately reflect bulb size, spacing, and color temperature. The closer the mockup is to reality, the more trust you build.
Common Mistakes to Avoid
While modern tools make mockup creation easier than ever, there are still pitfalls that can lead to less-than-stellar results. Avoiding these common mistakes will ensure your mockups are always professional and effective.
- Using Low-Quality Photos: This is the most common mistake. A blurry, poorly lit, or awkwardly angled photo will never produce a convincing mockup. Always follow the best practices for capturing the source image. If a client sends you a bad photo, politely request a better one.
- Being Too Generic: Don't just slap a string of lights on the roofline and call it a day. Personalize the design to the client's home and their preferences. A custom design shows you've put thought into their specific project.
- Ignoring Architectural Details: The best lighting designs accentuate the home's architectural features. Use lighting to highlight peaks, dormers, columns, and other interesting details. A generic design that ignores these features will look flat and uninspired.
- Not Setting Clear Expectations: The mockup is a sales tool, but it's also a communication tool. Be sure to explain to the client that the mockup is a close representation, but the final result may have slight variations due to real-world factors.
The Future of Lighting Sales is Visual
In the modern lighting industry, a picture is truly worth a thousand words—and thousands of dollars in sales. By leveraging photo-based lighting mockups, you can provide clients with a clear, compelling vision of their project, streamline your sales process, and close more deals, faster. The tools are more accessible and powerful than ever before; it's time to make them a core part of your business strategy. Contractors who embrace this technology will have a significant advantage over those who stick to traditional methods. By presenting a professional, visually stunning proposal, you're not just selling lights; you're selling a dream of a beautiful home.
Frequently Asked Questions
What is the best software for Christmas light mockups?
For professional contractors who need speed and accuracy, specialized software like IgnitelyAI is the best choice. While Photoshop offers high control, it is very time-consuming. General AI tools can be fun for ideas but often lack the precision needed for a real client proposal.
How can I make my lighting mockups look more realistic?
The key to realism is starting with a high-quality, well-lit photo of the client's property. Then, use a tool that accurately renders the glow and color of the lights without altering the underlying image of the house.
Can I create a lighting mockup from a photo on my phone?
Yes, absolutely. Modern AI-powered mockup tools are web-based, allowing you to upload a photo directly from your phone, write a prompt, and generate a mockup in minutes while you are still on-site at the client's property.
How long does it take to create a photo-based mockup?
Using traditional methods like Photoshop, it could take an hour or more per design. With a specialized AI tool like IgnitelyAI, you can create a stunning, accurate mockup in under 60 seconds.
Is it better to show one design or multiple options?
Presenting 2-3 options is almost always better. It empowers the client to make a choice and increases the likelihood of a sale. You can present a budget-friendly option, a premium design, and a middle-ground choice.
Can I add my company logo to the mockups?
Yes, professional mockup software allows you to upload your company logo, which can be automatically added to the images and proposals you generate, reinforcing your brand.
What's the difference between Christmas light and permanent lighting mockups?
The process is the same, but the design focus is different. Christmas light mockups often feature more vibrant, temporary-looking installations (like C9 bulbs). Permanent lighting mockups focus on sleek, architectural-grade fixtures and their ability to provide both holiday colors and year-round ambient lighting. You can learn more in our guide to the best Christmas light design software.
Ready to Transform Your Lighting Business?
Join thousands of lighting contractors using IgnitelyAI to create stunning mockups, close more deals, and grow their business.
Start Your Free Trial